Are you installing ceiling fans?
Depending on your location in Florida, the temperatures can get as hot as 82 degrees. If you want ceiling fans for bedrooms, installing them on your own can save some money. However, you might run into some problems during the process.
Without prior experience, you might commit some fan installation mistakes. Avoid this by learning the most common ones around. Read on:
1. Measuring the Ceiling Slopes Incorrectly
It is a more prevalent mistake when installing a ceiling fan without the expertise. A good practice is to maintain a 2-foot level against the ceiling. From there, measure the vertical distance between them.
After getting the result, divide it by 2. Doing so gets the grip over the horizontal run of 12" or the 3/12 slope.
Ceiling fans circulate cool air in summer and a warm breeze in winter. For this reason, the correct placement of the fans is essential during installation.
2. Forgetting to Knock Out the Old Boxes
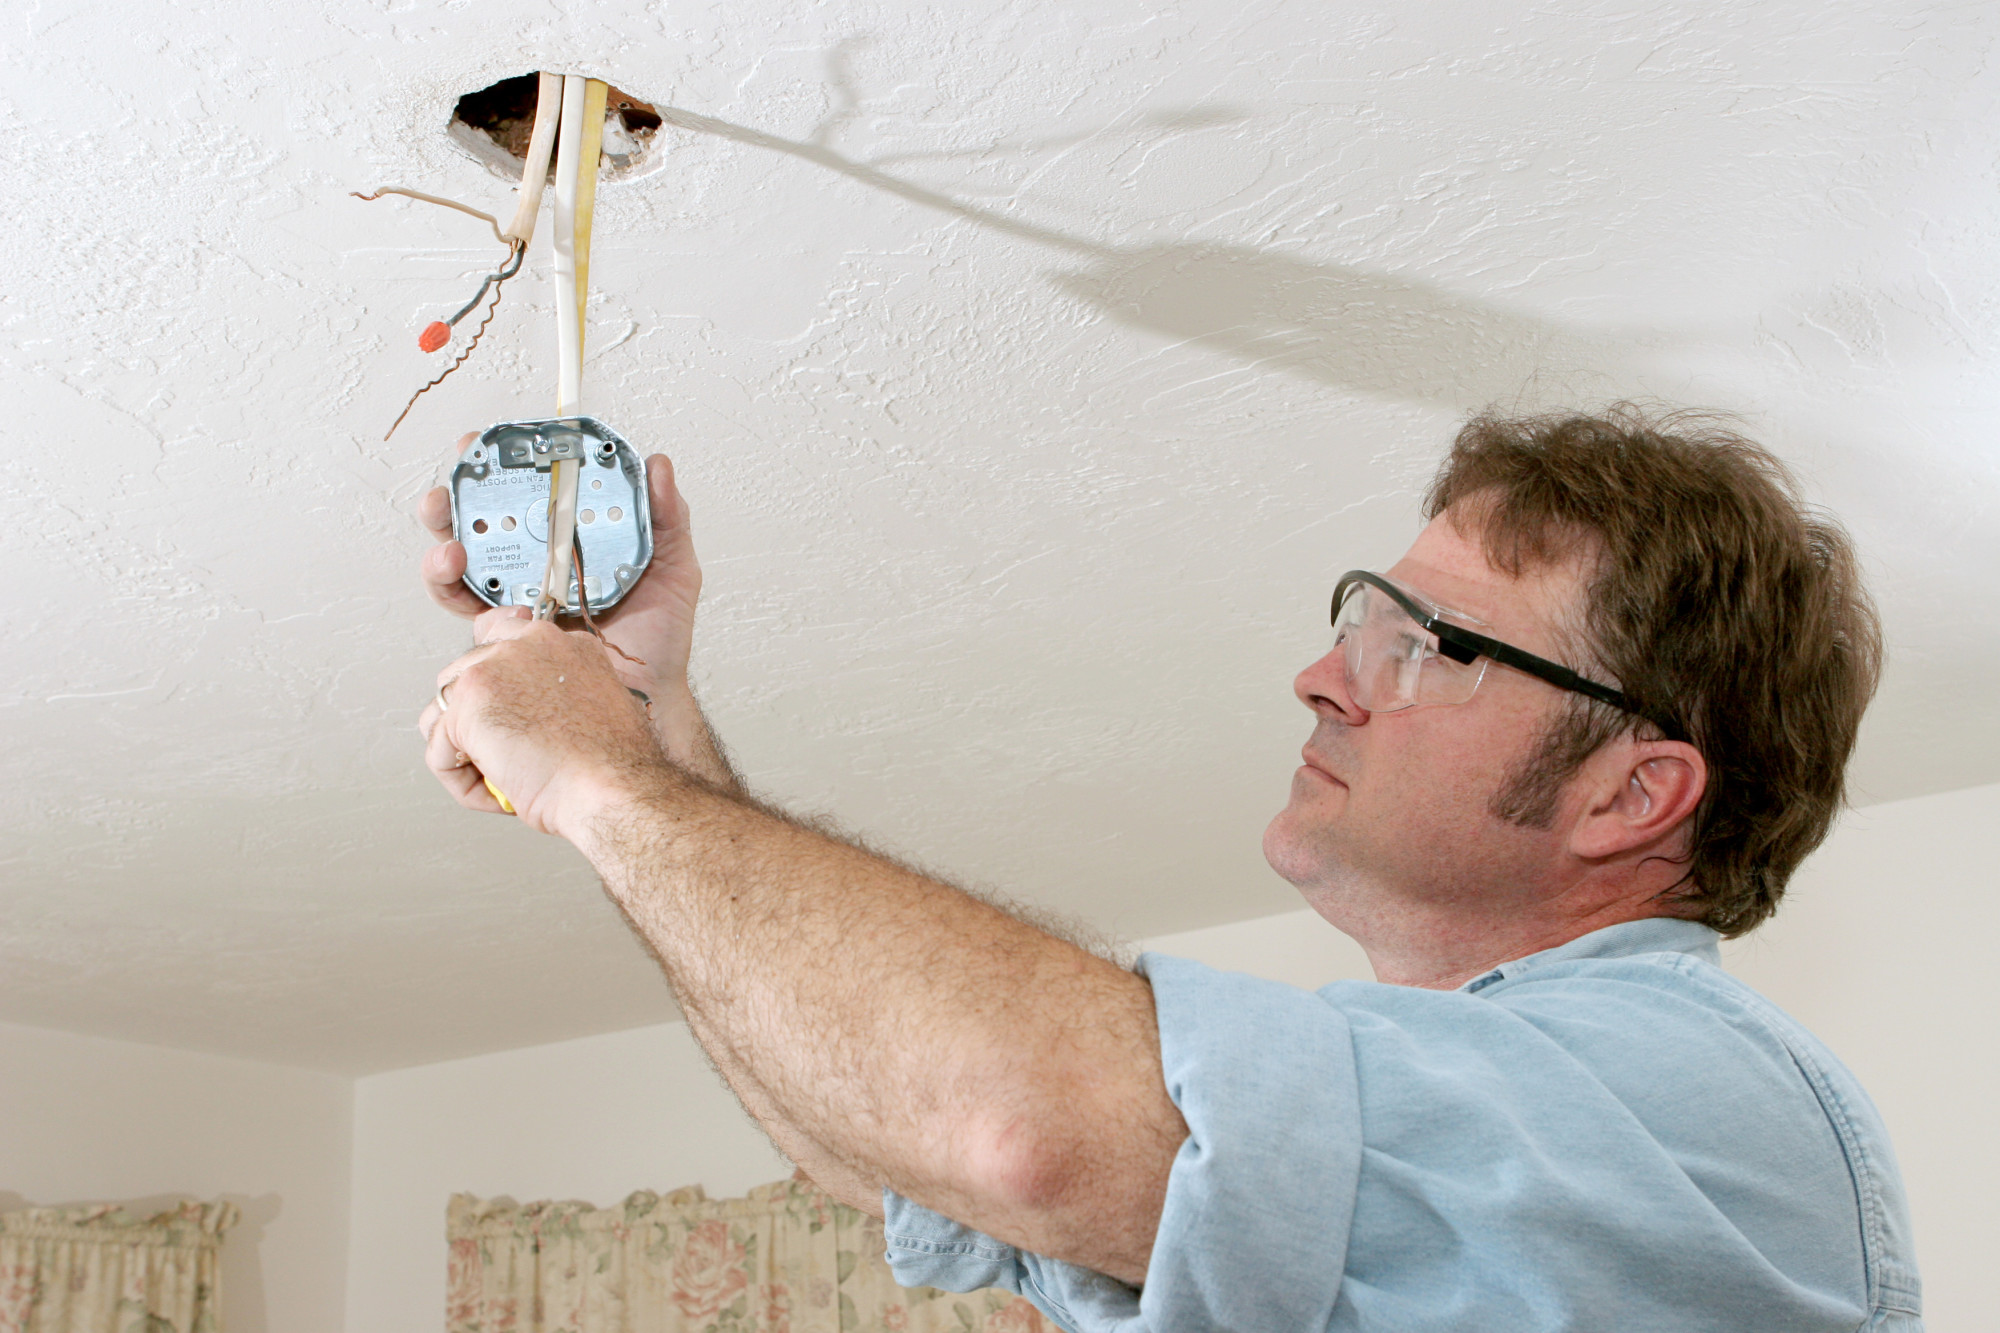
Before fixing, always ensure to knock out the old box. Shut the primary panel power before removing all light fixtures. After that, knock out the electrical box using a woodblock and a hammer.
Pull the electric wires out through the ceiling hole. Unless you can remove the old box easily, leave it in the ceiling cavity.
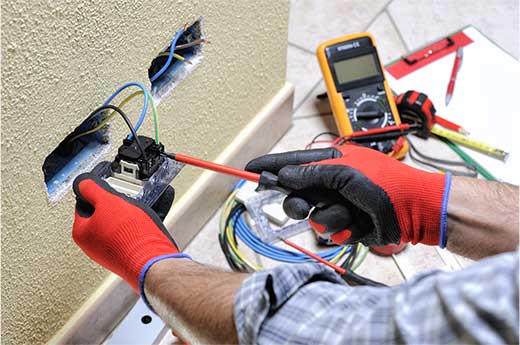
Shut off the circuit breaker feeding the switch and light fixture before working. Check whether the wires are inactive using voltage testers. It ensures you avoid the risk of electric shocks.
3. Never Installing a New Fan Hanger Bracket and Box
Do you have a low ceiling? Homes with eight-foot-tall rooms are prevalent in the 1970s and 1980s to lower heating or cooling costs. Installing a new fan hanger bracket and a box is critical to these homes.
To do this, feed the old electric wire through the cable clamp. You can find it at the top of your new box. After that, clamp it by slipping it over the screws before tightening the nuts.
Shaft the box using a nut driver. Finish it off by clamping the grounding wire loop three quarters around the screw before tightening. Get rid of the existing electric box before installing the fan brace to hold the fan.
4. Improper Fan Assembly Before Hanging
Regardless of the ceiling fan size, proper component assembly is essential. Insert the correct size down rod before placing the motor on the right side. Once done, thread the wire into the mounting collars through the down rod.
5. Assembling the Fan After Fixing Onto the Ceiling
Never hang the fan without correctly assembling it. Otherwise, you might end up taking it off when you make mistakes. Consider reading your fan's assembly manual to make it easier.
Do you want to avoid more mistakes? Check out this guide and avoid common AC maintenance errors now.
Avoid Fan Installation Mistakes Now
The fan installation process can get complicated. Regardless, we hope you learned what to avoid with these common fan installation mistakes.
However, consider working with a fan installation service if you want to make the most out of your investment.
Do you need home services in Southwest Florida? If so, contact us today to get help.


